Course Modules
The main elements of a course are modules. Each course can have any number of modules (one or more).
Types of modules
- Parallel. All modules are available for study simultaneously.
- Sequential. A module is available only after completing another module.
Creating a module
To create a module, go to the course card (by clicking its name in the list or the Details button).
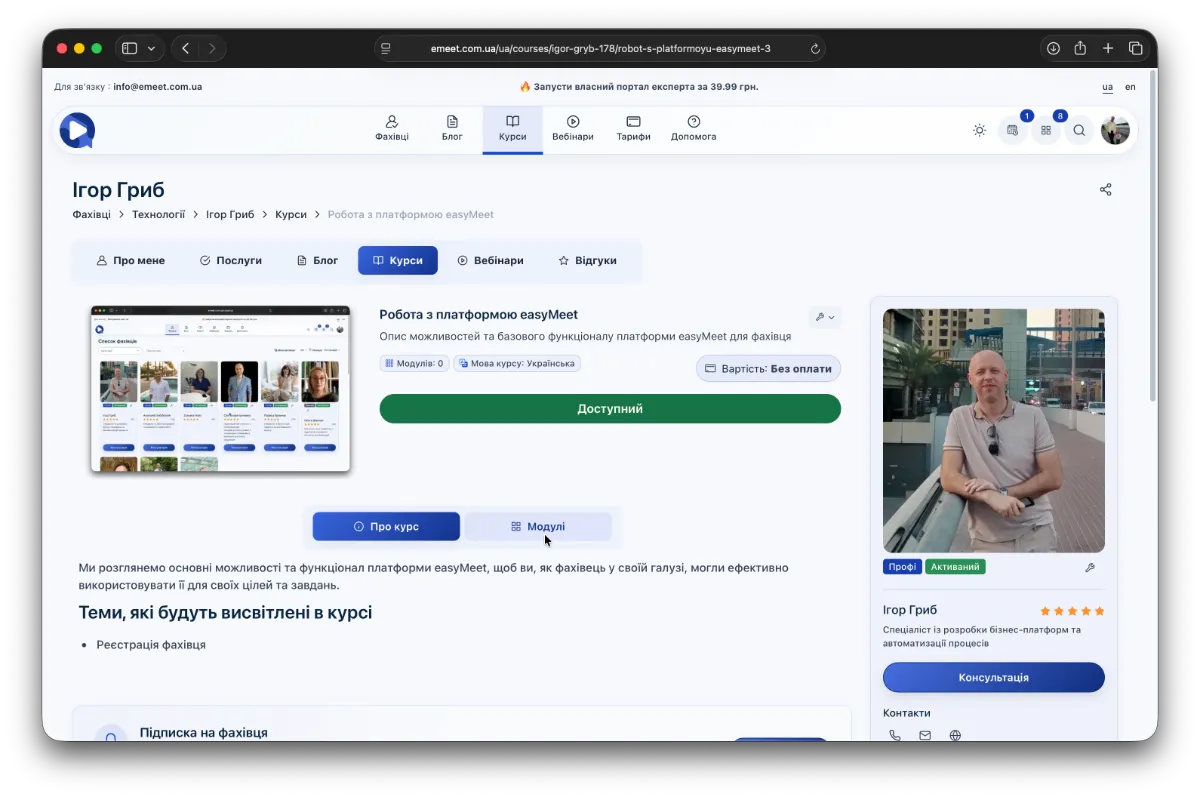
You will be taken to the course page. If the course has a detailed description (as in the screenshot example), there will be two tabs under the basic module card - About the course and Modules. If the About the course tab is empty, only the modules will be shown. To create a module, go to the Modules tab and click Create module.
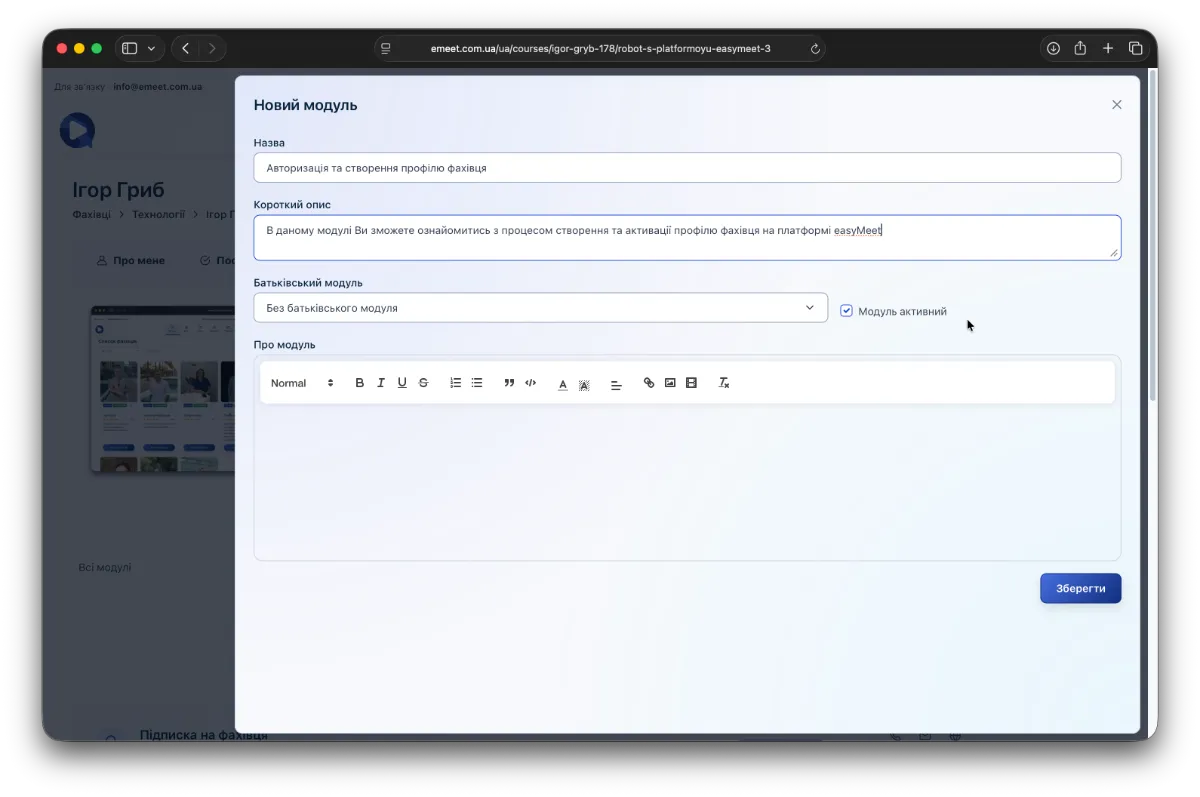
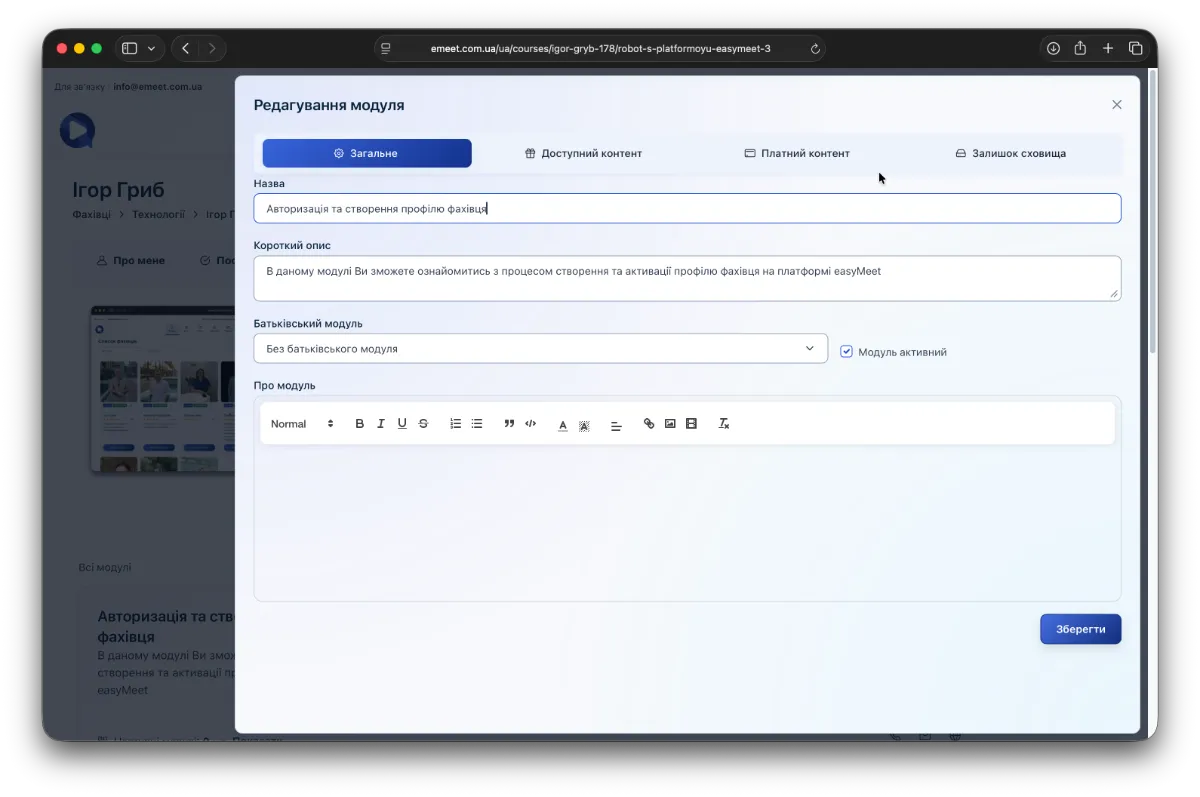
A module creation dialog will open. Fill in all required fields and click Save. After saving, the following tabs will be available:
- Available content
- Paid content
- Storage remaining
Module content (available and paid)
There are two types of module content - available and paid. Available content is accessible for preview without course payment, while paid content becomes accessible after module payment.
You can fill the module content with 5 different types of informational element blocks.
Content informational elements
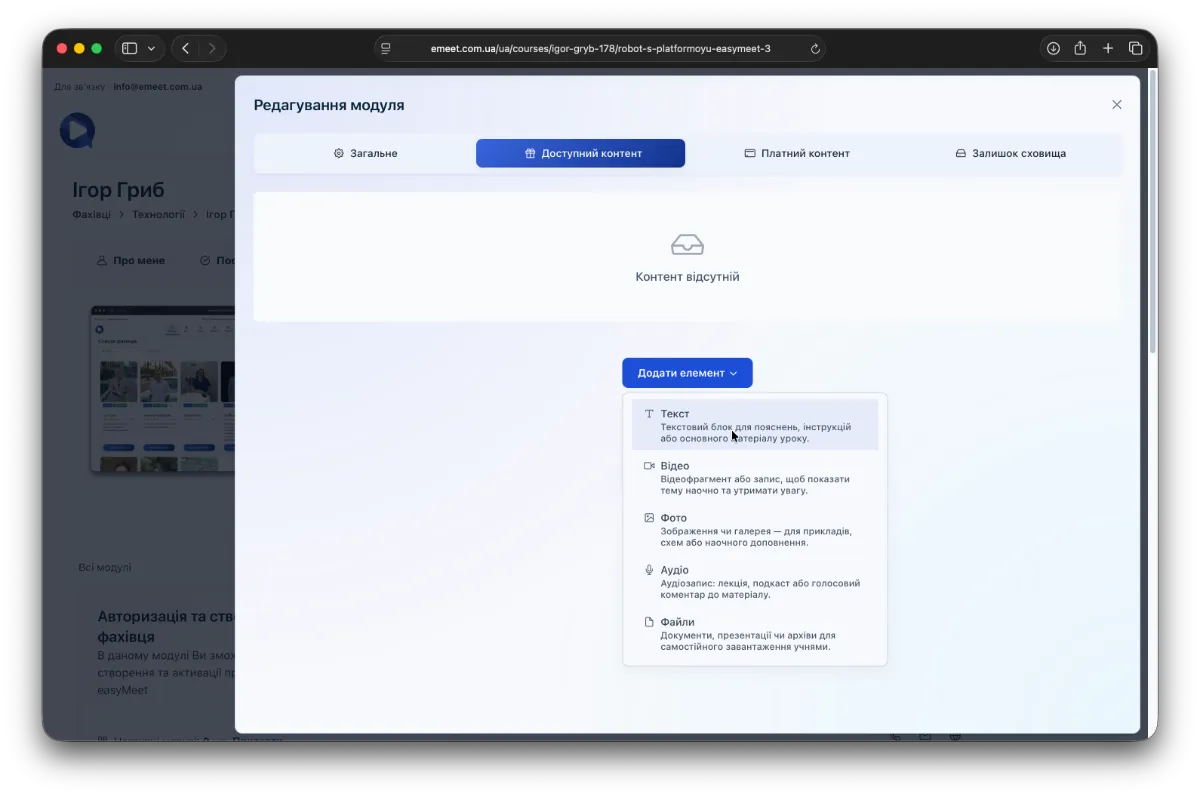
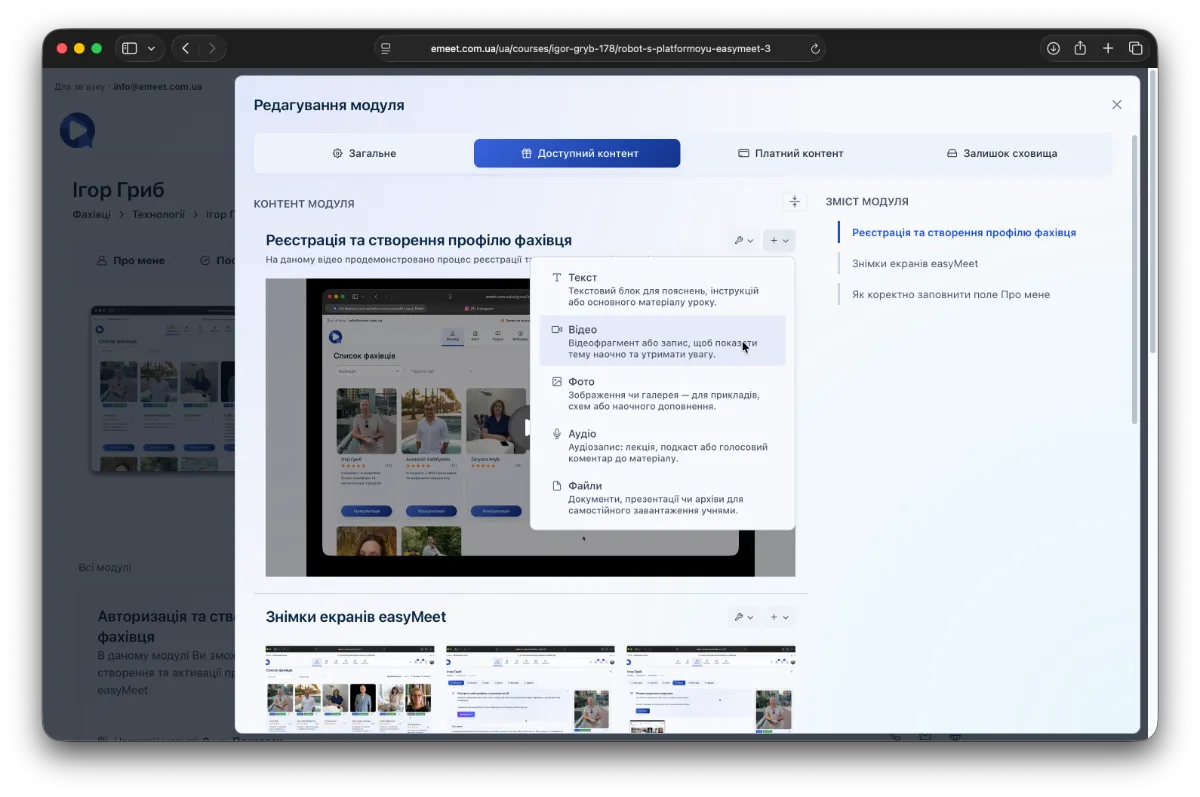
There are 5 different types of informational elements depending on the type of information you need to add to the module. All have two main properties - Title and Description, as well as an individual data type:
- Text. Allows entering formatted text information.
- Video. Allows adding video.
- Photo. Allows adding a photo gallery with individual photo descriptions.
- Audio. Allows adding audio recordings.
- Files. Allows attaching any number of files to the module (within the available course storage space).
Adding content (video example)
Click Add Element and select one of the types. For example, video.
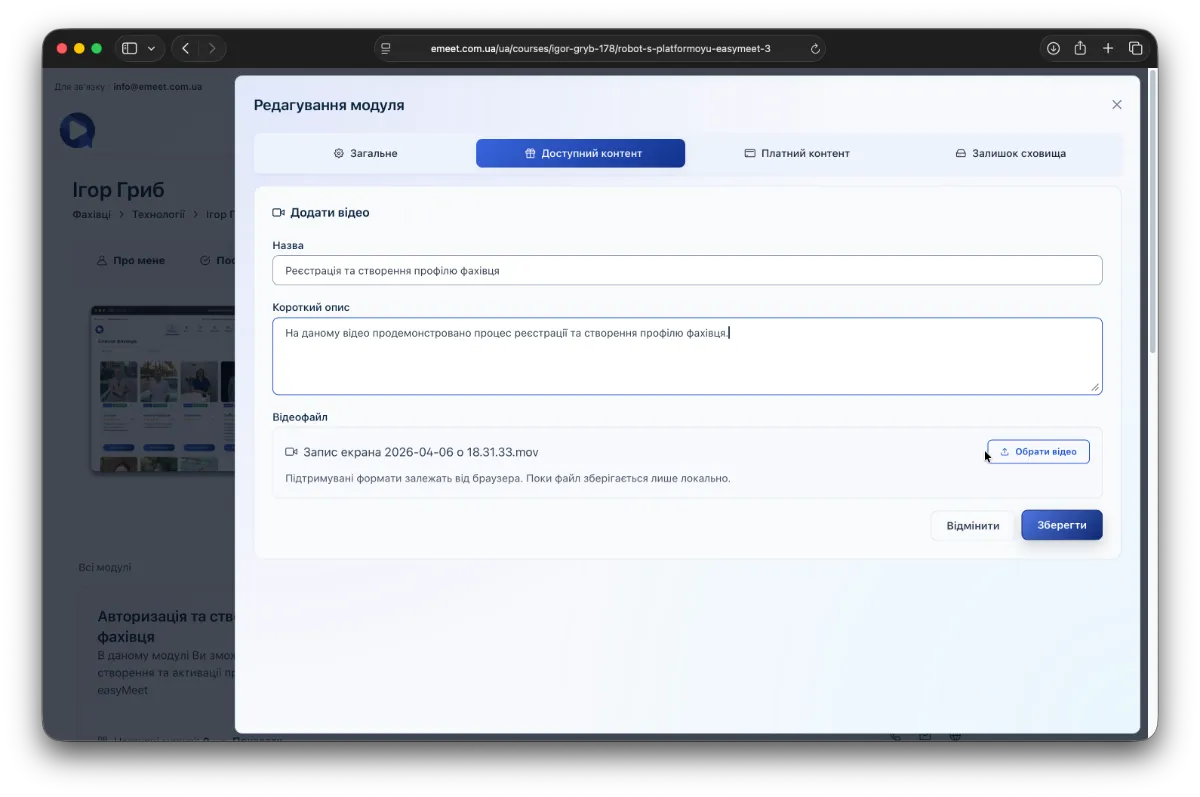
Fill in the required fields - title, description, attach the video, click Save and wait for the video to upload to the server. After that, you will see the video with its title and description as part of the module content.
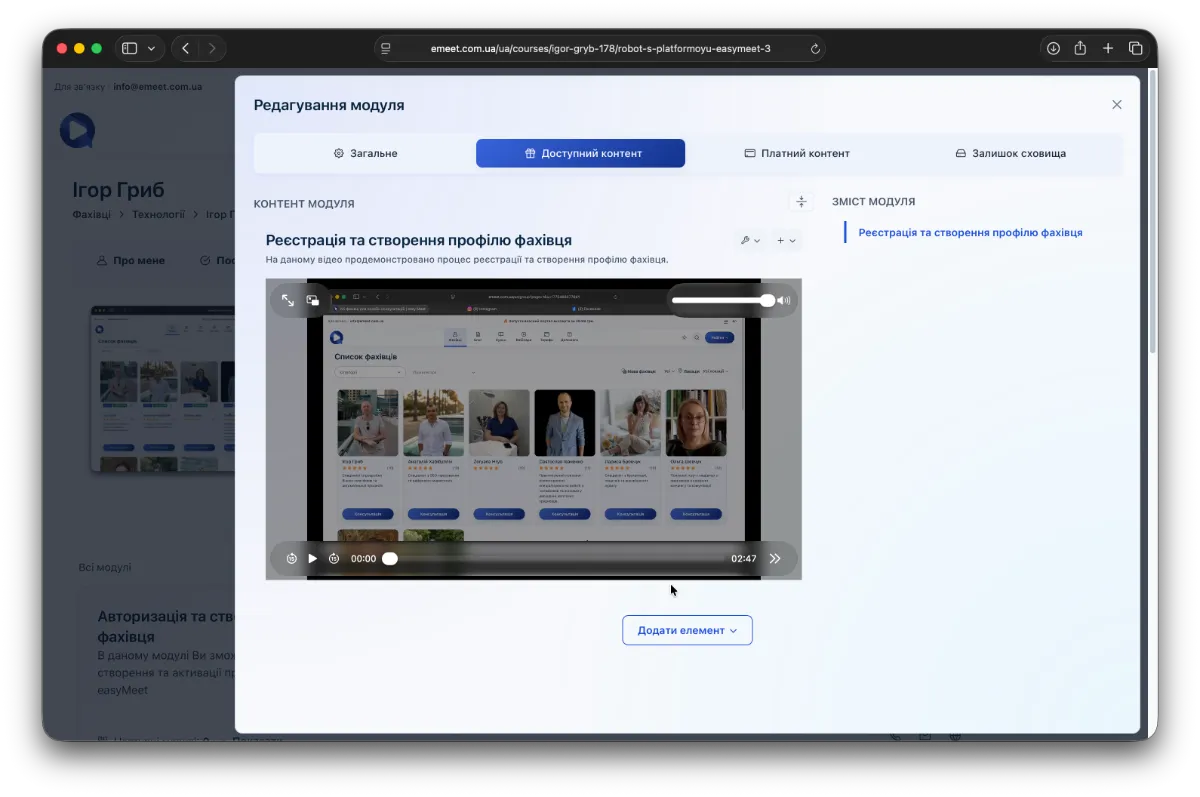
On the right, a navigation panel for the module content will be displayed. This way, you can add unlimited informational element blocks to form your course module.
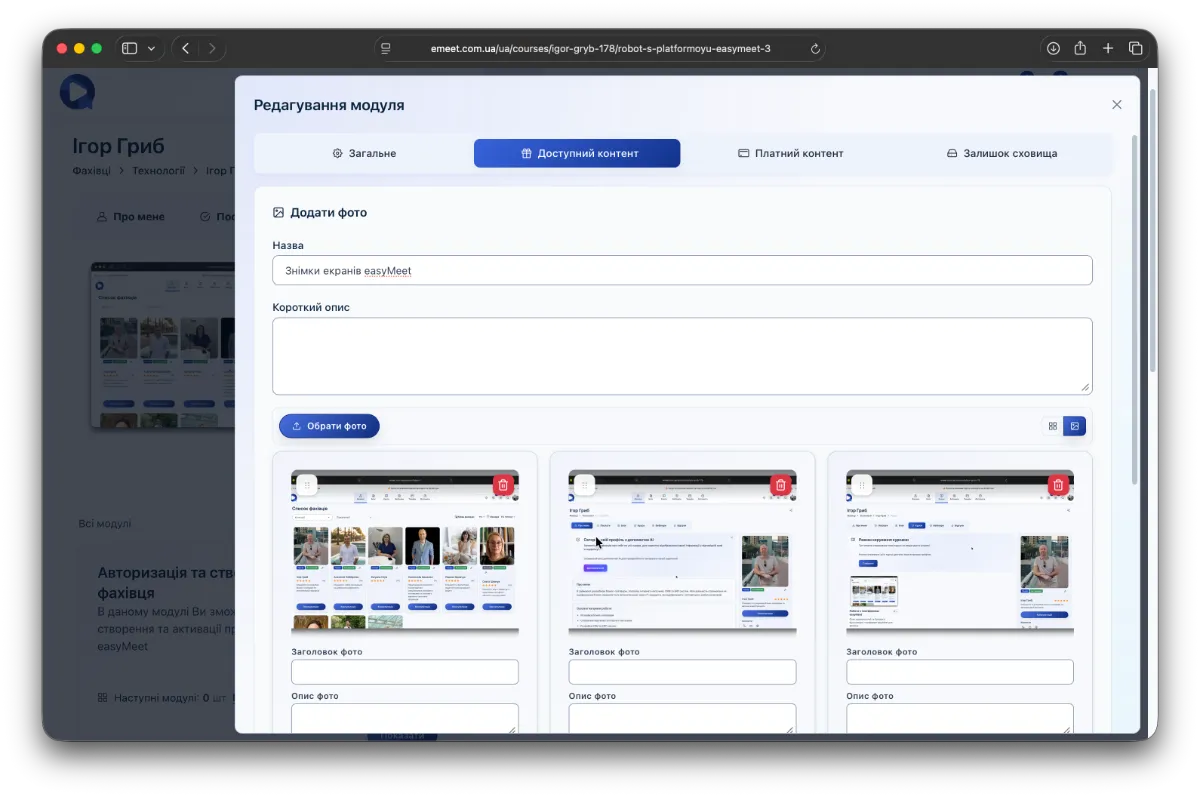
Features of adding photos
If you need to add photos (one or several), use the Photo element. Click Add Element -> Photo. Fill in the title (and description if needed), click Select photos - choose the photos you want to upload (multiple selection allowed). To add descriptions for each photo, switch to Large photos mode by clicking the button opposite the Select photos button. You will then be able to add a title and description for each photo separately. You can also reorder photos by dragging them by their top-left corner.
Sorting content elements
Besides adding a new informational element at the end of the content, you can add it after an existing element by clicking the + button on that element, then selecting the type of informational element to add.
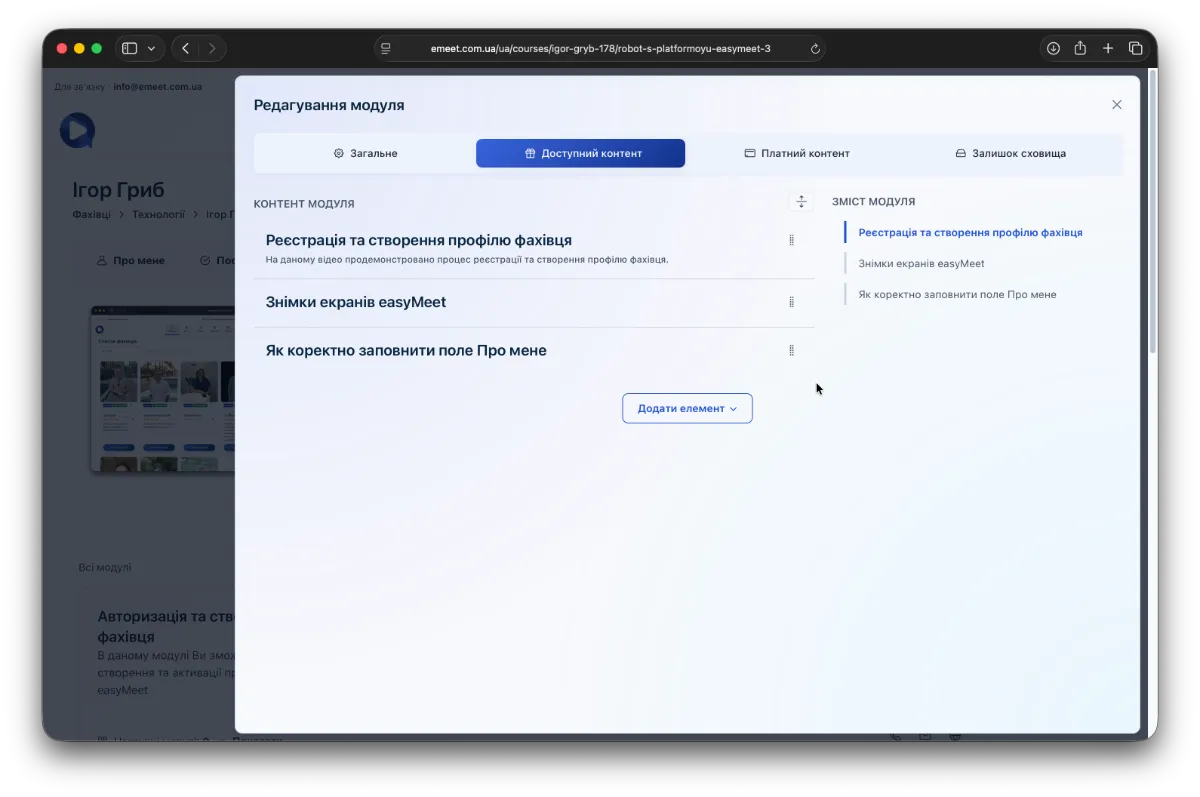
You can also reorder existing elements by switching their display to Compact mode using the button opposite the Module content header.
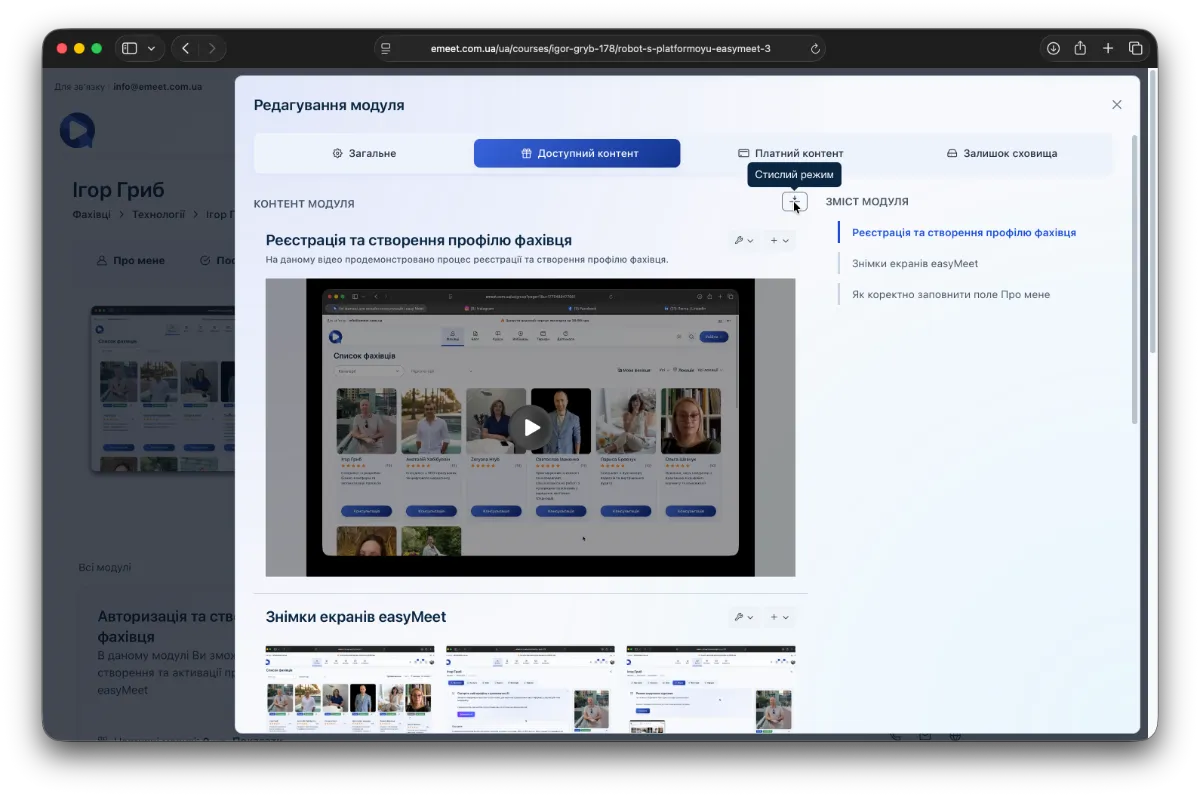
After this, all elements will be shown in a condensed format, with an icon next to each for dragging and repositioning.
Filling paid content
Filling paid content is done exactly the same way as available content and has no special features.
Storage space control
On the Storage remaining tab, you will see a widget showing the remaining storage available in your plan. If you need to increase it, please contact support.